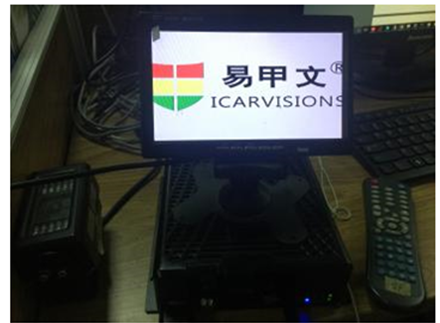
1. To prepare your boot up logo at following image format.
1.1 The image must be RGB mode.
1.2 The image must be JPG format.
1.3 The best image pixel should be 720x576.
1.4 The Image size must be less than 100 k.
1.5 The name of your logo image must be “loading.jpg”.
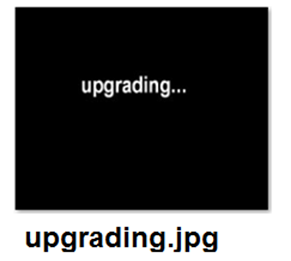
1.6 You will receive an image file <upgrading.jpg> from us.
2. To rename your logo file to be <loading.jpg>.

3. Be advised that the different upgrade method for SD card MDVR and HDD MDVR.
3.1 For SD card MDVR:
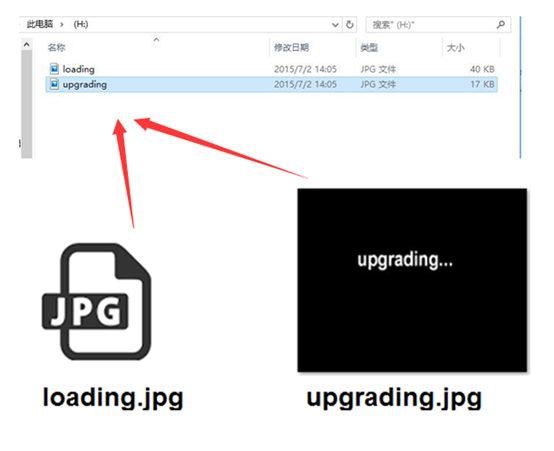
To format your SD card to fat32, put both the <upgrading.jpg> and <loading.jpg”> under the Root directory of the SD card.
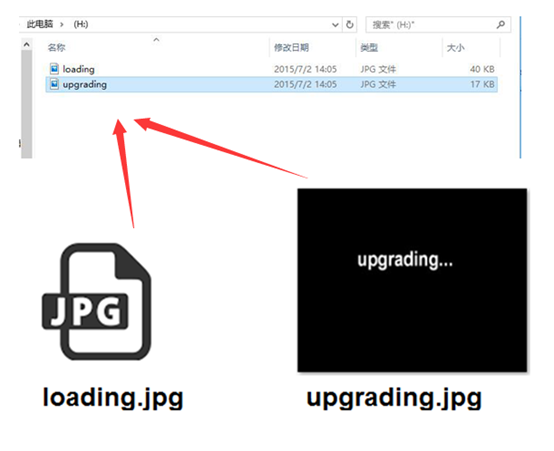
To insert the SD card into MDVR SD card slot, and then power up the MDVR.

3.2 For HDD MDVR
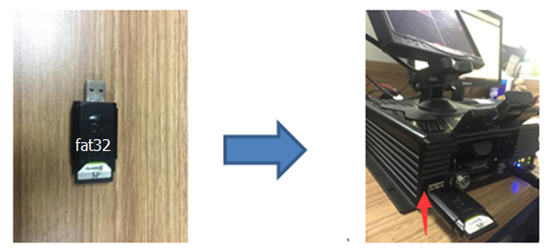
To format your USB flash drive to fat32, put both the <upgrading.jpg> and <loading.jpg”> under the Root directory of the USB flash drive.
To insert the USB flash drive into the front USB port of the HDD MDVR, and then power up the MDVR.
4. To log in the MDVR by follow steps:
SETUP MENU -- TOOLS -- CONFIGURE -- UPGRADE LOGO, then click the “UPGRADE LOGO”
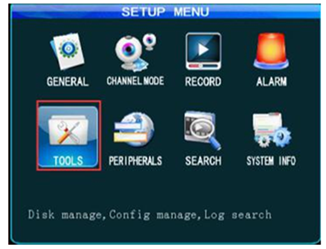
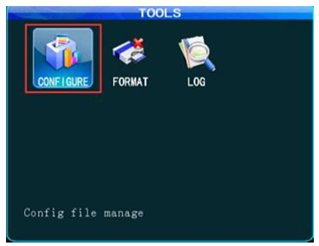
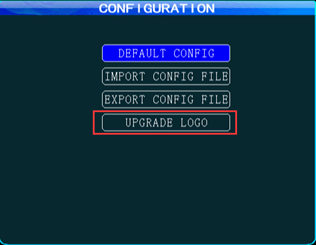
5. After clicking the “UPGRADE LOGO”, the pop-up window will show “Upgrade picture successful”.
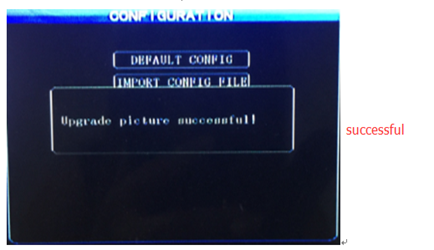
6. When you restart the MDVR again, your boot up logo will show up.
FAQ DOWNLOAD
![]() To-customize-your-boot-up-logo-to-MDVR.docx
To-customize-your-boot-up-logo-to-MDVR.docx
![]() To-customize-your-boot-up-logo-to-MDVR.pdf
To-customize-your-boot-up-logo-to-MDVR.pdf

 Icarvisions.com
 Español
 português
 简体中文
简体中文 繁體中文
繁體中文 Deutsch
 Français
 日本語
日本語 한국어
한국어 بالعربية
 TÜRKÇE
 русский
 English
Contact Us
Questions or comments? Please fill out the form below, send a quick message, or call us. We love to hear from you!