Before installation.
1. Put the SSD and SD card into JT1 to check whether JT1 can read the SSD and SD card normally. If JT1 can not read the SSD or SD card, use the USB to SATA cable or card reader to format the SSD and SD card into exFAT format on the computer, and then put it into JT1 for testing. If it is confirmed that the SSD and SD card need to be formatted before using, then all the SSD and SD cards should be formatted on the computer and used when they are installed.
2. Prepare the SIM card for being online.
3. Adhesive glue, glass cleaner, cleaning cloth.
4. Tools: screwdriver, electrical insulation tape, wire stripper, multi meter, Phillips screwdriver, slotted screwdriver, etc.
The JT1 installation steps can be divided into four parts:
1. JT1 bracket installation.
2. The cables connection.
3. IP camera installation and angle adjustment.
4. Confirm the device can be online and recording.
1. JT1 bracket.
1.1 The suction cup holder should be pressed, fixed to the groove, then put the tablet and Tighten the screws.
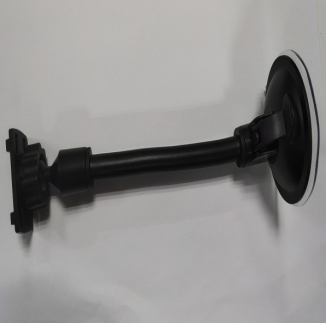
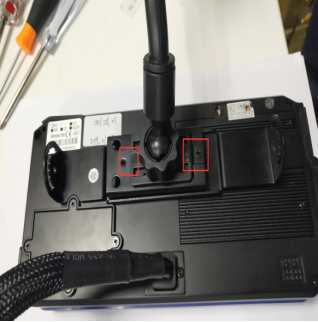
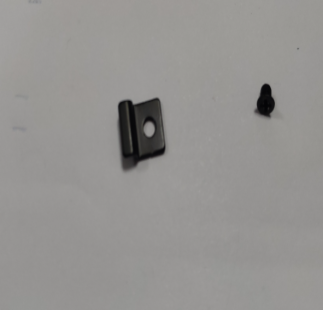
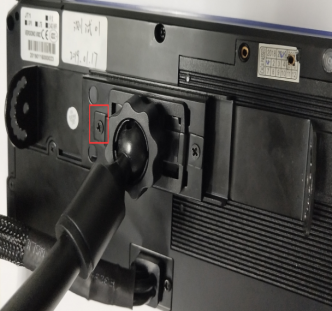
1.2 The notch of the bracket frame is facing down, then rotate the middle shaft screw first, but the screw should not be rotated too solidly.
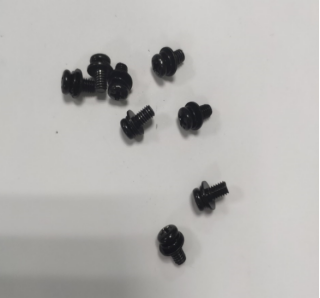
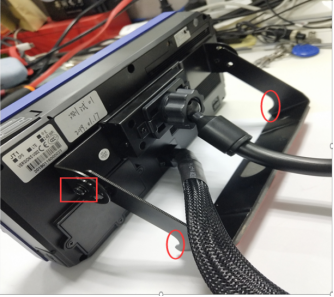
1.3 Adjust the tilt angle of the screen by the outer ring screw, then tighten the two screws both side.
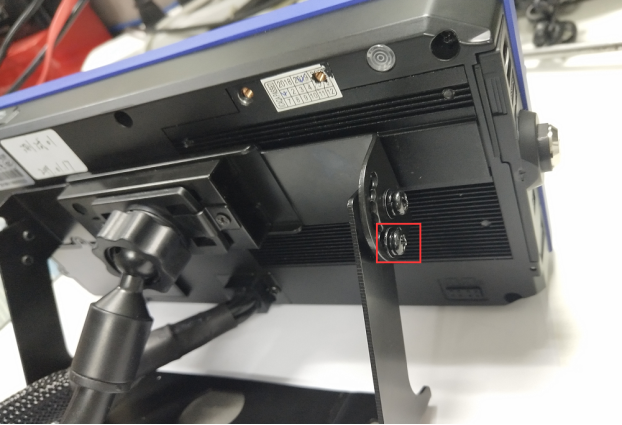
1.4 Wipe the glass surface of the car and the bottom of the bracket frame before pasting the 3M glue tape. Prevent the JT1 falling off. Find the best position and fix the bracket frame.
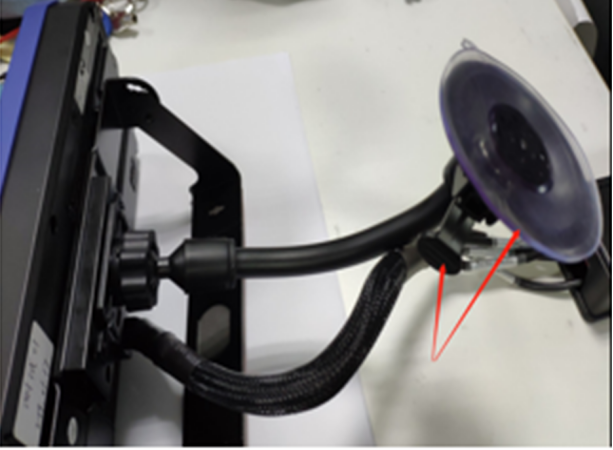
1.5 Adjust the bending angle of the suction cup bracket according to the distance and angle of the front windshield, tear off the protective film of the suction cup, wipe the position of the front windshield, press the suction cup from left to right and stick it on the glass, pull the suction cup buckle.
2. The cables connection.
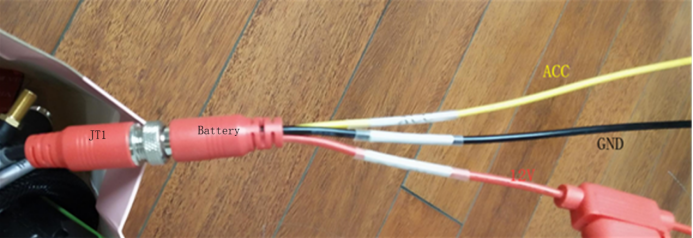
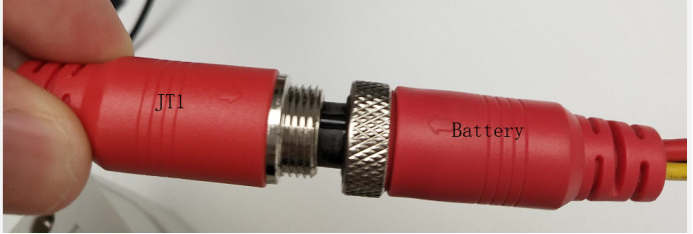
2.1 The power cable connector should be aligned and inserted; the other part of the power cable: ACC (yellow), DC IN+ (red), GND (black) should be connected to the corresponding cable of the car correctly, so as not to burn the power cord or even the machine.
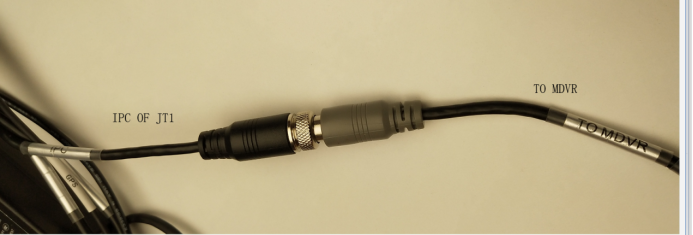
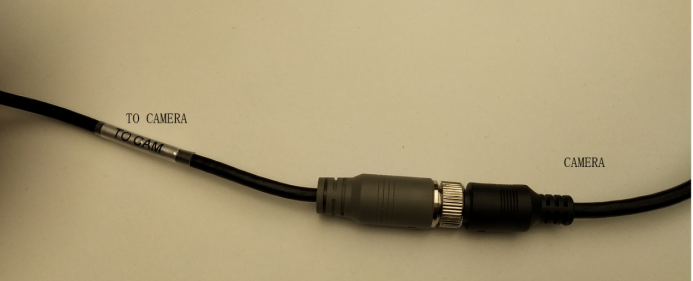
2.2 Installation of the IP camera extension cable.
2.3 I/O cable and Panic button wiring.
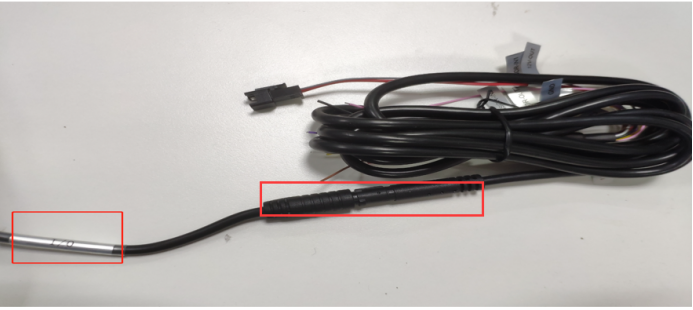
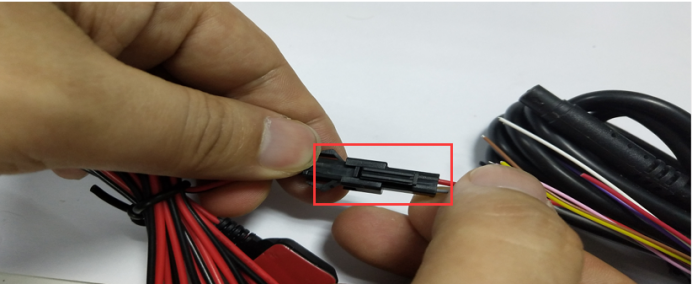
2.4 RS232&485
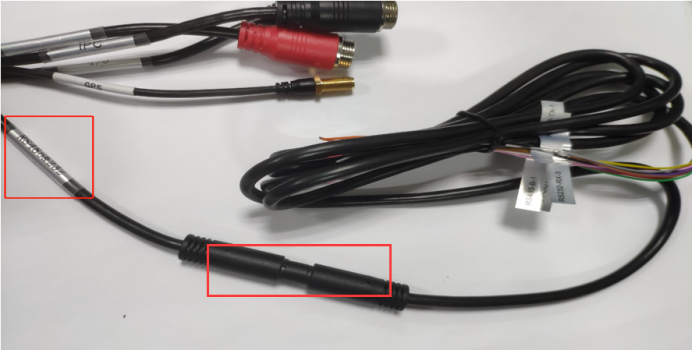
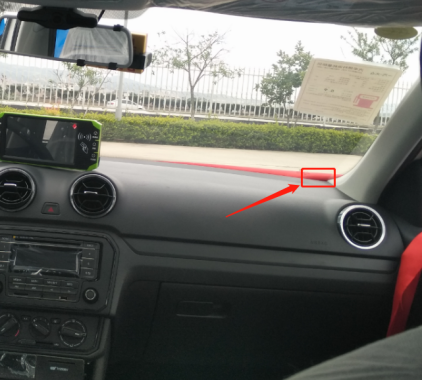
2.5 The GPS antenna should be placed away from magnetic appliances such as speakers. The best position is below the windshield on the passenger side.
2.6 Connect all the interfaces and place the interfaces into the cable box, and secure the cable box with four screws. Wipe the bottom of the cable box and paste it in the best position of the center console with 3M glue.
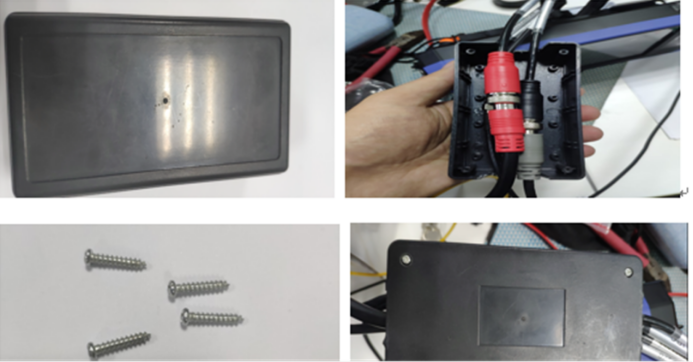
3. IP Camera installation.
3.1 Enter the video test (MAP1>SD>IPCTest.apk>install) to see the real-time recording of the camera.
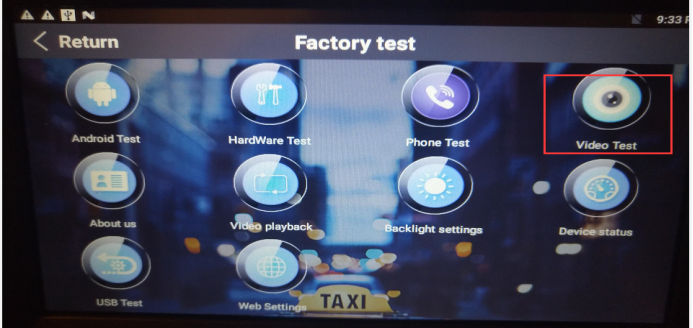
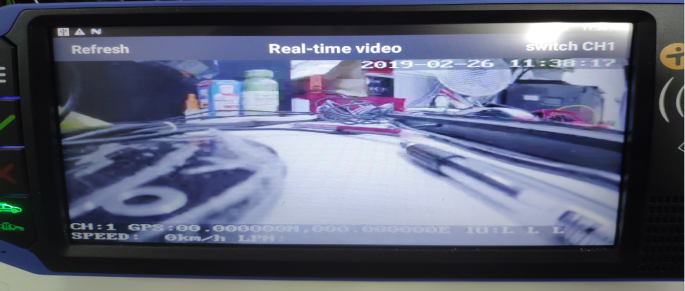
3.2 Adjust the angle. Use a special screwdriver to adjust the tilt angle of the camera. In addition, the top of the camera should be close to the bottom of the mirror.
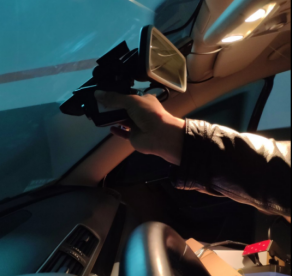
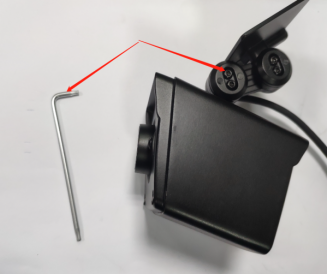
3.3 Wipe the surface of the camera cleanly, evenly apply the glue and paste the 3M glue tape.
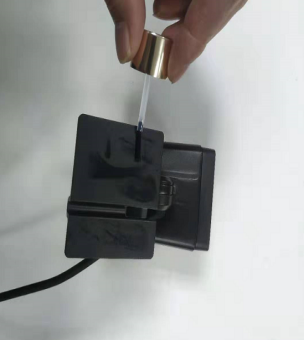
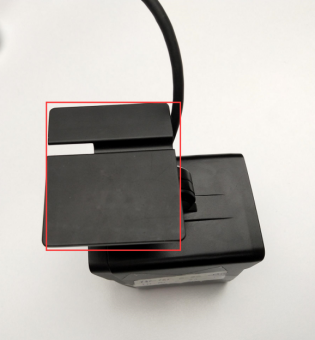
3.4 Loosen the screw first, adjust the angle up or down of the external camera. Observe the shooting effect by the ‘video test’ of 3.1 step. Please don't let the camera shot too much hood, and don't mostly shot the sky. After that, tighten the screw.
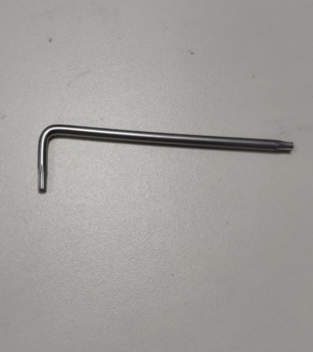
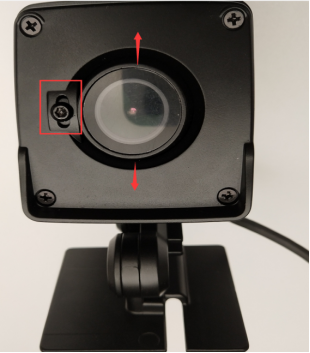
3.5 After the camera angle and position is adjusted to the best, wipe the windshield, tear off the lens protective film of the camera, apply the adhesive evenly on the windshield, tear off the 3M glue of the camera’s surface and squeeze it from the left to the right to the windshield. Prevent the camera to fall off cause the air bubbles,.
4. Inspection equipment
You need to make sure the device is online and recording normally.
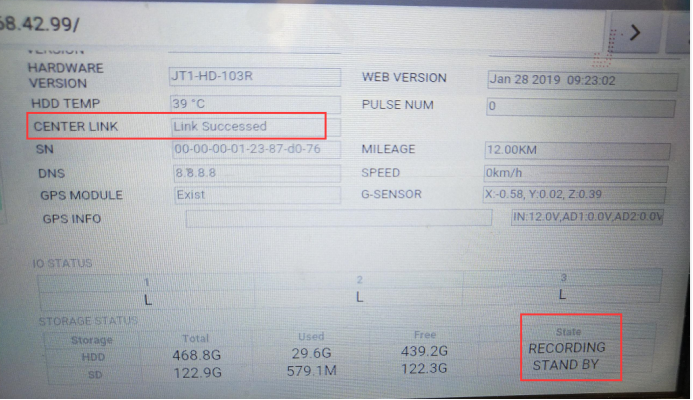
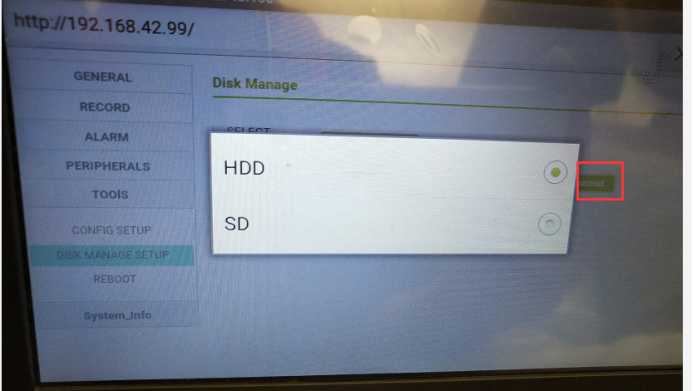
4.1 Hard disk format: exFAT, SD format: exFAT or FAT32. If the format was correct, but not recording, please check enable of the main stream before you format the SSD or SD card. Surf the web setting page
-- Tools -- Disk Manage Set Up -- Format.
4.2 If the device is not online, check the device number first. First obtain the device number (*#06#), and the device number is the last 7 digits of the IME number. Then compare the device number of the vehicle information, whether it is consistent.
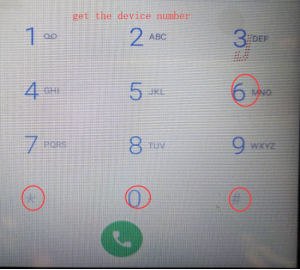
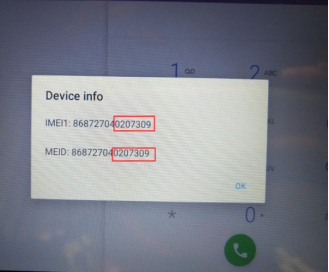
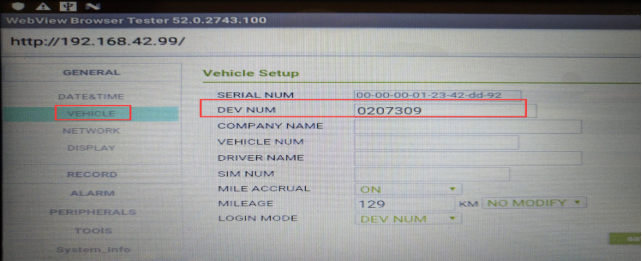
If the device number is correct, then check the network parameters, including the domain name, DNS, port number, and so on.
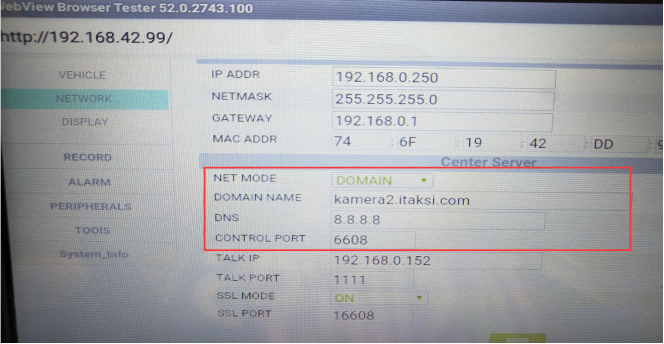
4.3 Check if the GPS information of the device was normal.
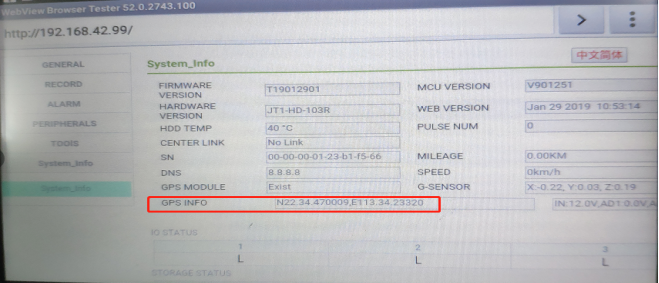

 Icarvisions.com
 Español
 português
 简体中文
简体中文 繁體中文
繁體中文 Deutsch
 Français
 日本語
日本語 한국어
한국어 بالعربية
 TÜRKÇE
 русский
 English
Contact Us
Questions or comments? Please fill out the form below, send a quick message, or call us. We love to hear from you!